If you read my previous guide on Self-Hosting Pi-hole on RaspberryPi, you’ve already seen how a small computer can make a big impact on your digital life. But what if I told you that same Raspberry Pi could be the heart of an even more cool self-hosting setup? I’ve been using the Raspberry Pi 5 as a compact homelab server. Here’s a breakdown of what I’m running on it and why it works for my needs.
I’ve always preferred managing my own services when possible. The Raspberry Pi 5 makes that easier than ever, thanks to its improved performance and low power footprint.
Table of Contents
Open Table of Contents
- The Brains of the Operation: My Raspberry Pi 5 Setup
- Walking the Talk: This Blog Runs on the Pi!
- Why Self-Host? The Perks and Philosophy
- My Self-Hosted Service Arsenal
- Watchtower: Automated Docker Container Updates
- Dozzle: Real-time Container Log Viewer
- Lubelogger: Vehicle Maintenance & Fuel Tracking
- Home Assistant: The Smart Home Conductor
- Beszel: Lightweight Server & Docker Monitoring
- Uptime Kuma: Service Availability Guardian
- Gitea: My Personal Git Powerhouse
- Umami: Privacy-Focused Web Analytics
- Pi-hole: The Ad-Blocking Sentry (Still Going Strong!)
- Under the Hood: Docker,
docker ps -aand a Glimpse at Configs - The Zigbee Connection: Smart Home Integration
- Challenges & Considerations
- Is This Self-Hosting Life for You?
- Final Thoughts & Your Turn
The Brains of the Operation: My Raspberry Pi 5 Setup
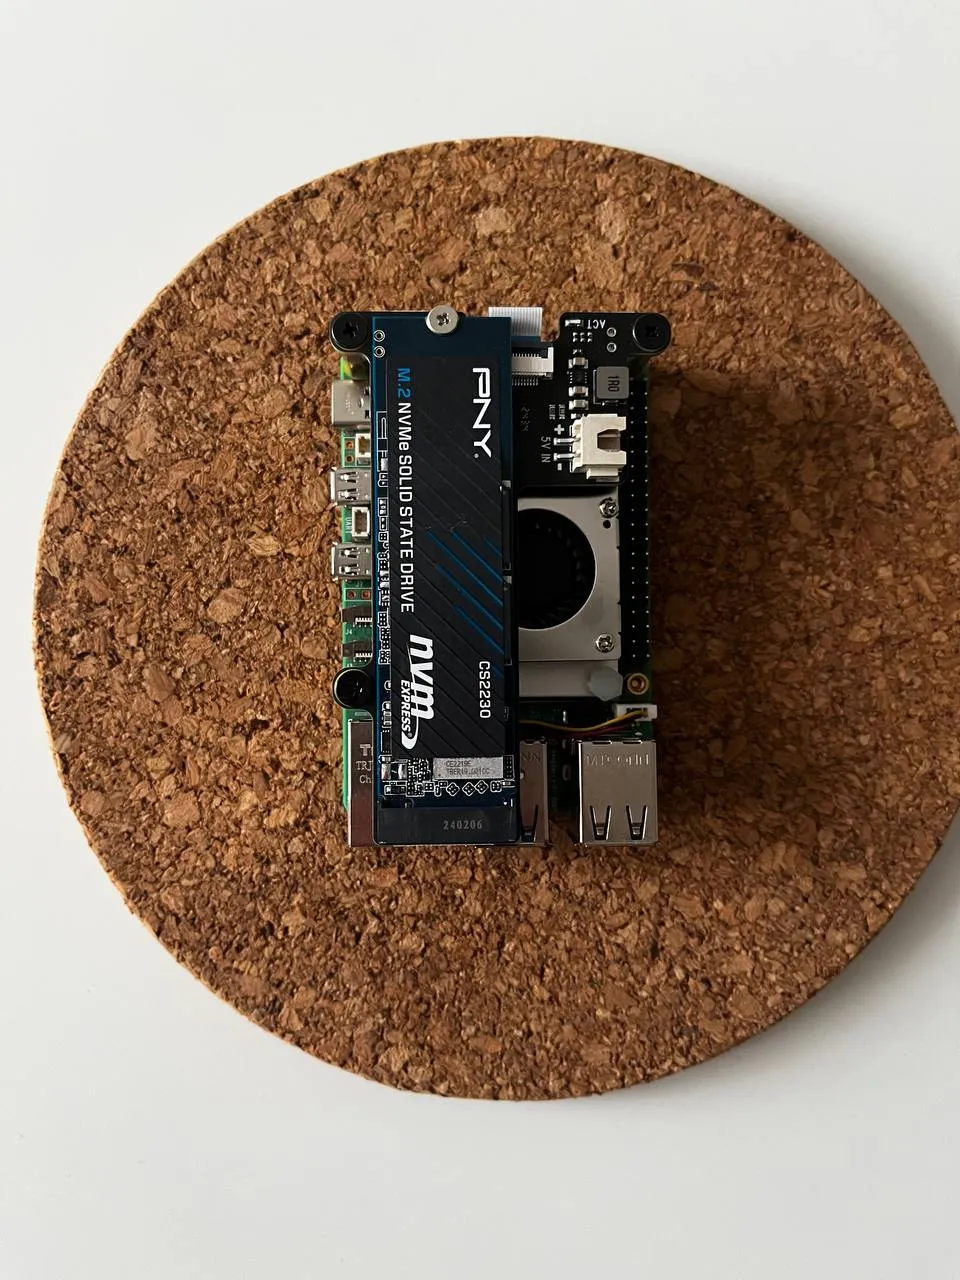
The star of this show is the Raspberry Pi 5 (8GB RAM). This latest iteration is a significant step-up in performance, making it more than capable of handling multiple services simultaneously. Here’s what my setup looks like:
- Raspberry Pi 5 (8GB): Unlike earlier models, the 8GB variant handles multiple Docker containers comfortably, even under moderate load.
- Raspberry Pi Active Cooler: Must have for the Pi 5, especially under sustained load. It keeps temperatures in check and prevents thermal throttling, ensuring consistent performance.
- Geekworm X1001 PCIe to M.2 NVMe SSD PIP: This is a game-changer! Booting and running services from a 512GB NVMe SSD offers a huge difference in speed compared to a microSD card.
- High-Quality Power Supply: Crucial for stability, especially with the Pi 5 and an NVMe drive.
- Ethernet Connection: For a server, wired is always the way to go for reliability.
- SONOFF Dongle USB Zigbee plus-ZBDongle-E: Plugged into one of the USB ports, this is the gateway to my Zigbee smart home devices, managed by Home Assistant.

While not a replacement for a full server, this setup handles most self-hosting needs efficiently and with minimal power consumption.
Walking the Talk: This Blog Runs on the Pi!
The blog you’re reading is hosted on the same Raspberry Pi 5 that runs the rest of my self-hosted stack. With proper configuration it handles web traffic reliably with other services.
Why Self-Host? The Perks and Philosophy
Before we jump into the “what,” let’s briefly touch on the “why”:
- Control & Ownership: Self-hosting lets you define how your data is stored, accessed and retained - without relying on third-party services that can change terms, policies, or pricing at any time.
- Privacy: Many self-hosted services are designed with privacy first, keeping your information within your own network.
- Learning & Skill Development: Setting up and maintaining these services is an incredible learning experience in Linux, Docker, networking and more.
- Customization: Configure services to your exact needs.
- Cost-Effectiveness: While there’s an initial hardware investment, self-hosting can save money in the long run compared to subscription services.
- Fun!!! For tech enthusiasts, building and managing your own digital infrastructure is incredibly interesting.
My Self-Hosted Service Arsenal
I’m a huge fan of Docker for managing my services. It allows for easy deployment, updates and isolation of applications. Here’s what’s currently running on my Pi 5:
Watchtower: Automated Docker Container Updates
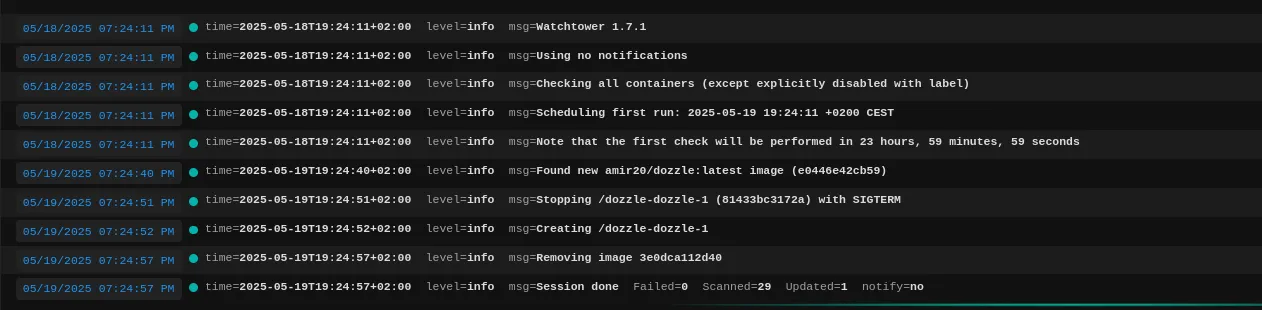
- What it is: A tool that monitors your running Docker containers and automatically updates them to the latest version by pulling new images from Docker Hub or your private registry.
- My take: For a homelab Watchtower is a fantastic solution. It helps keep services up-to-date with security patches and new features without manual intervention. You set it and forget it. However, it’s wise to heed their advice: it’s best for non-critical, homelab environments.
- Pros: Automates container updates, “set and forget” simplicity, helps keep services current.
- Cons: Automatic updates can occasionally break things if a new version has issues or breaking changes. Not
recommended for production environments. Only updates the image doesn’t modify
docker-compose.ymlif underlying configurations need to change.
Dozzle: Real-time Container Log Viewer
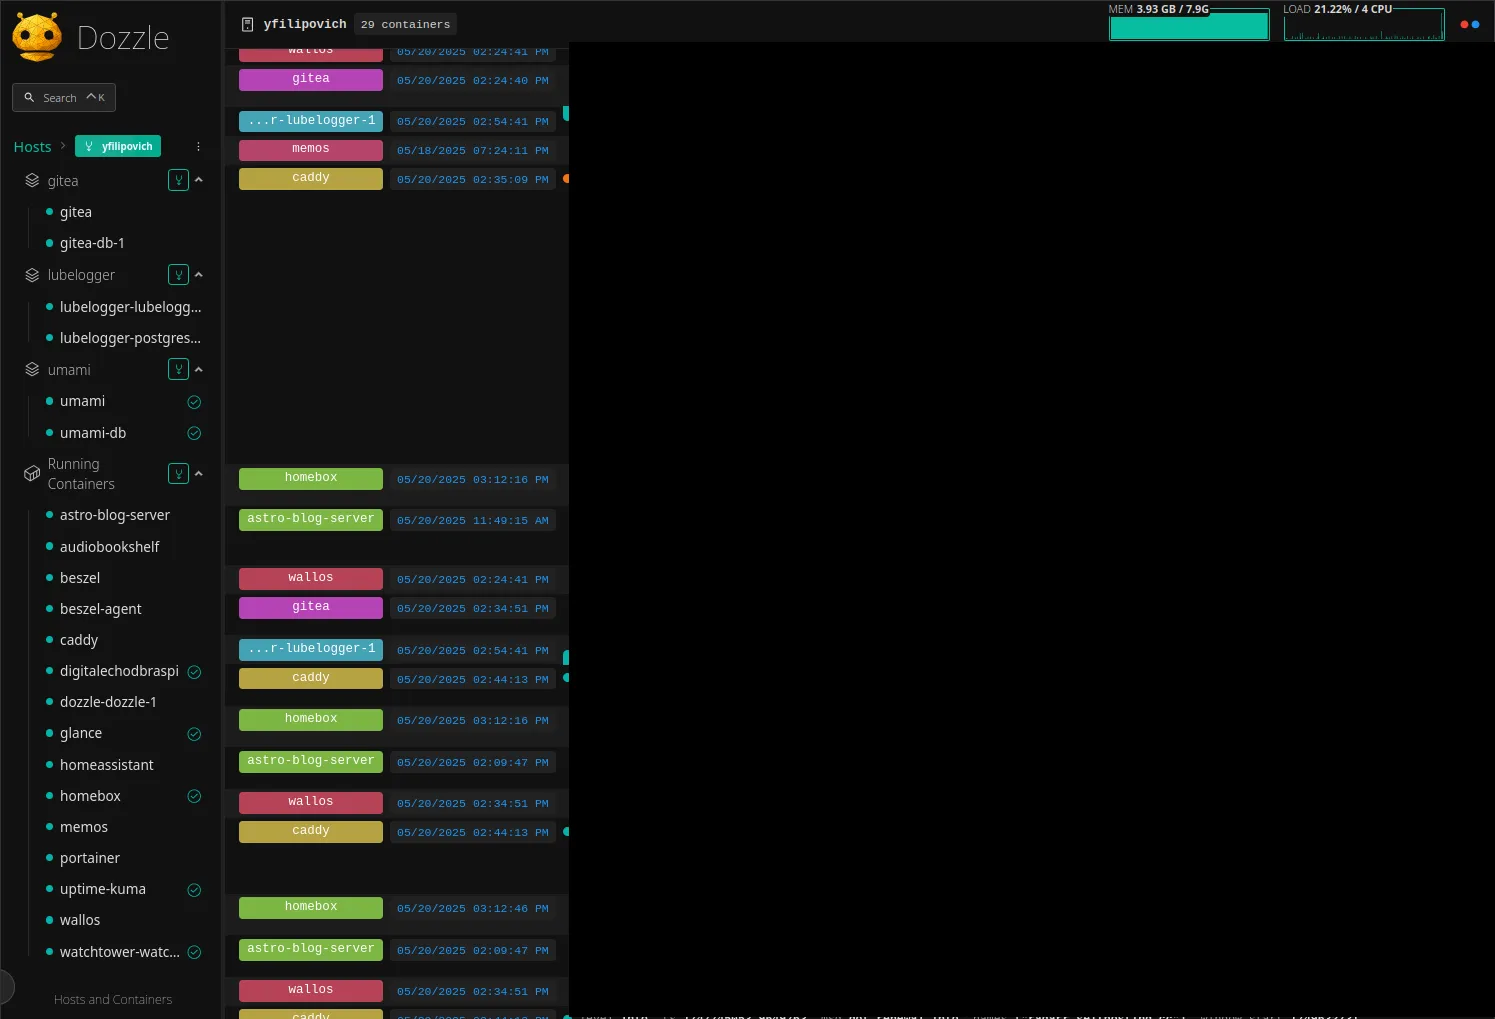
- What it is: A lightweight, web-based application for live monitoring of Docker container logs.
- My take: If you’re running Docker, Dozzle is almost essential. It provides a clean, searchable, real-time stream
of logs from all your containers in one place. No more
docker logs -f <container_name>in multiple terminal windows! The fuzzy search and split-screen view are brilliant for debugging. - Pros: Super easy to set up, minimal resource usage, excellent for live troubleshooting.
- Cons: Not for log archiving or deep historical analysis (but it doesn’t claim to be).
Lubelogger: Vehicle Maintenance & Fuel Tracking
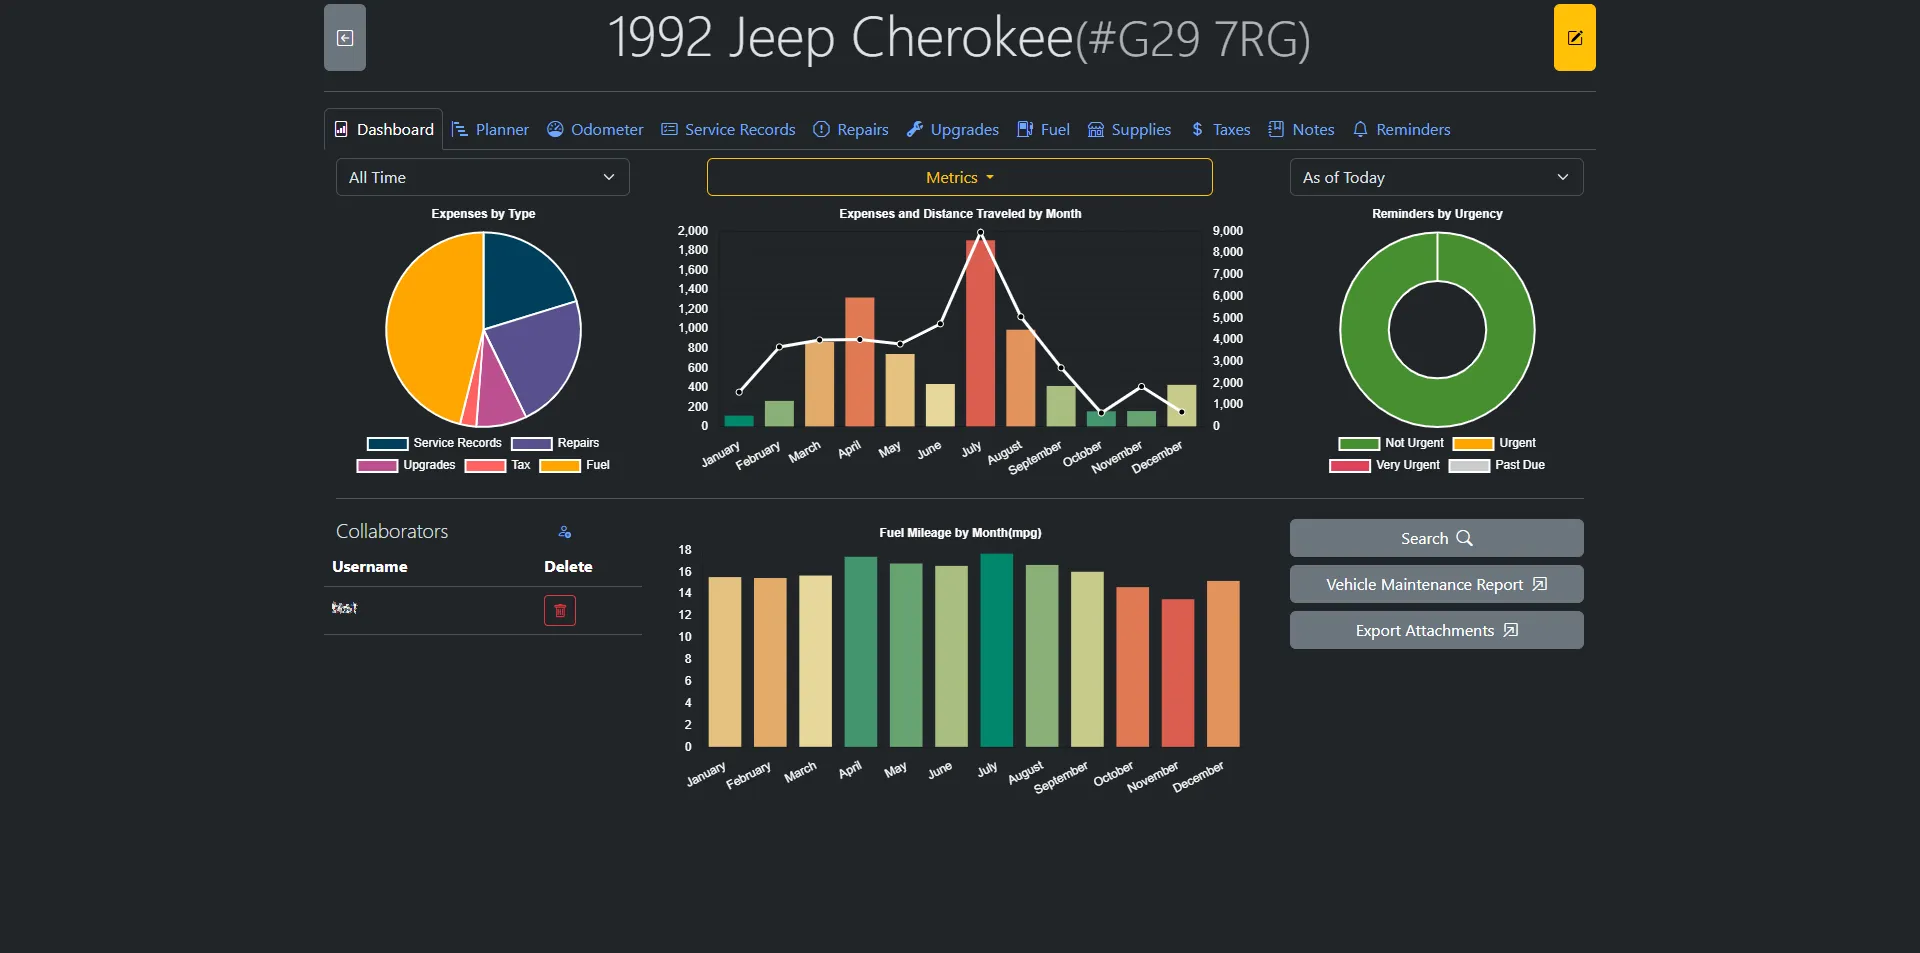
- What it is: A self-hosted web application to track vehicle maintenance records and fuel mileage.
- My take: I was tired of messy spreadsheets, paper notes and forgotten oil changes. Lubelogger provides a clean, dedicated interface for all things car-related. It’s great for keeping track of service history, fuel economy and upcoming maintenance.
- Pros: Purpose-built for vehicle tracking, open-source, helps you stay on top of maintenance.
- Cons: Simpler than some commercial fleet management tools, but perfect for personal use.
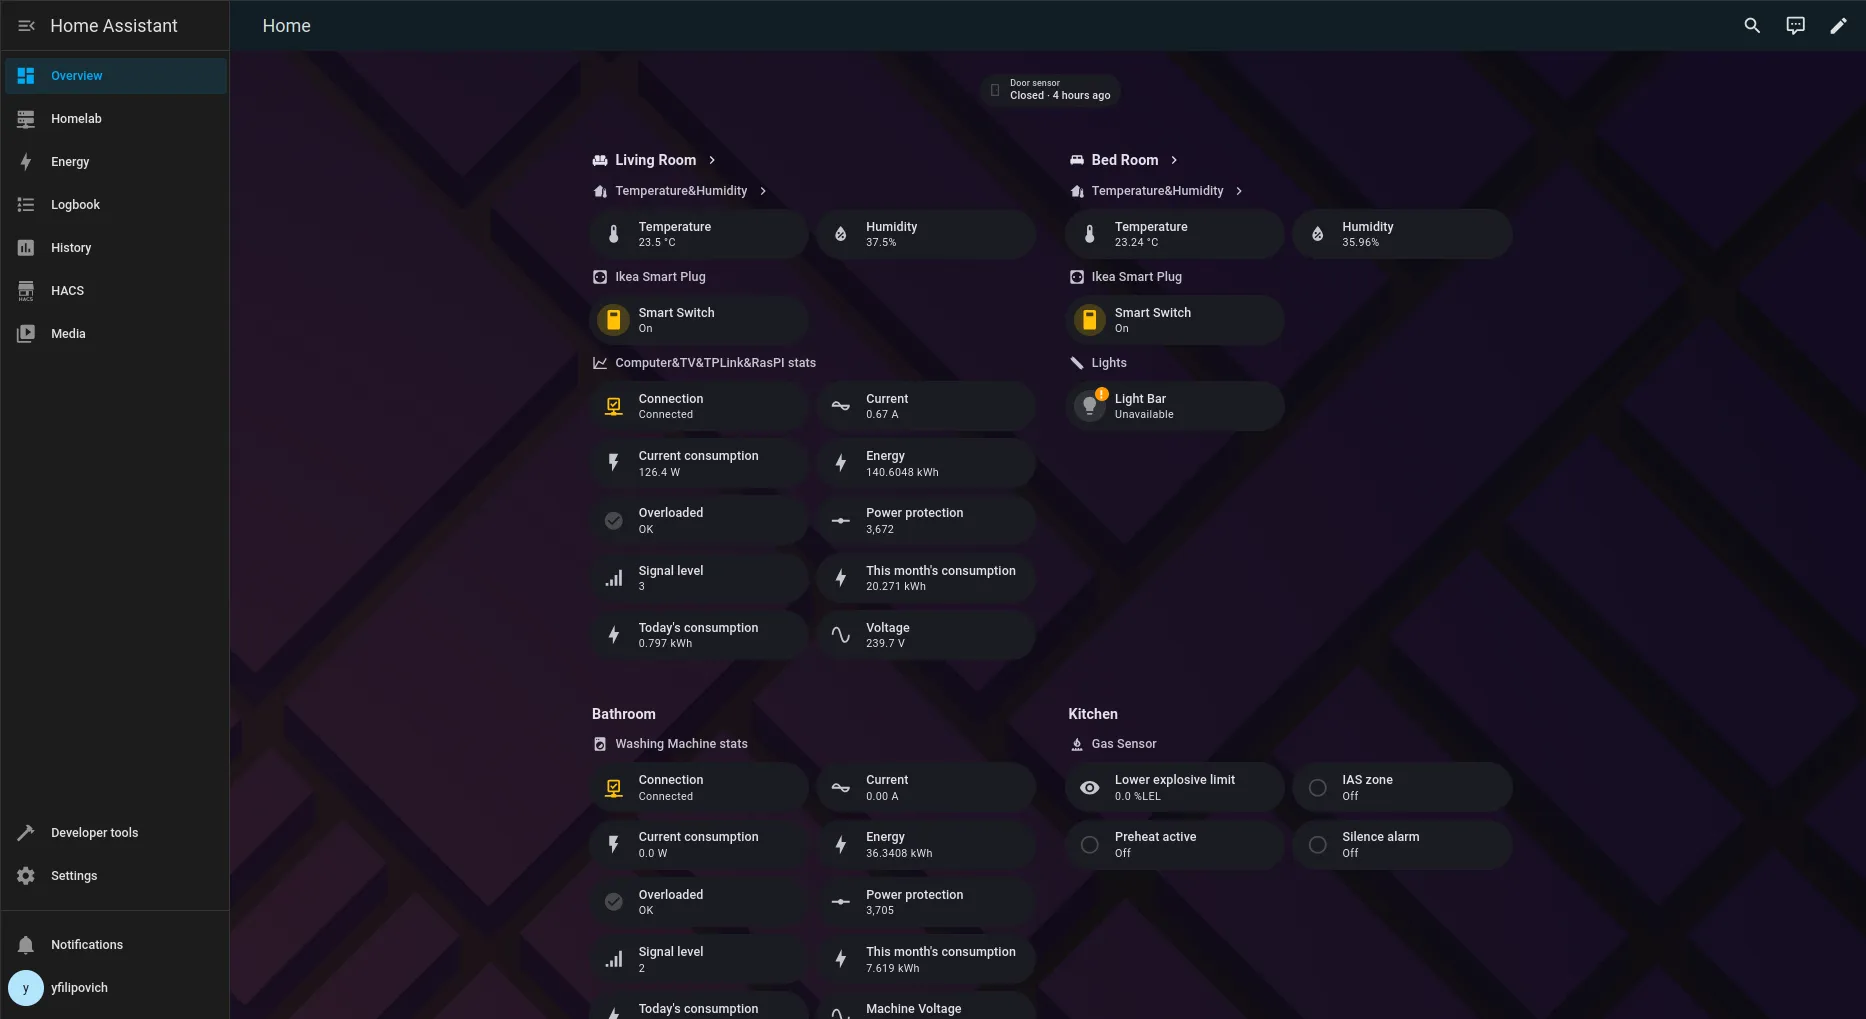
Home Assistant: The Smart Home Conductor
- What it is: An open-source home automation platform that prioritizes local control and privacy.
- My take: This is the heart of my smart home. Paired with a Zigbee dongle, Home Assistant allows me to control lights and other smart devices from various manufacturers, all locally. The automation possibilities are endless and the community is fantastic. The Pi 5’s performance makes for a very responsive Home Assistant experience.
- Pros: Infinite flexibility, vast device compatibility, strong privacy focus, powerful automations.
- Cons: Can have a hard learning curve initially, but the rewards are well worth it.
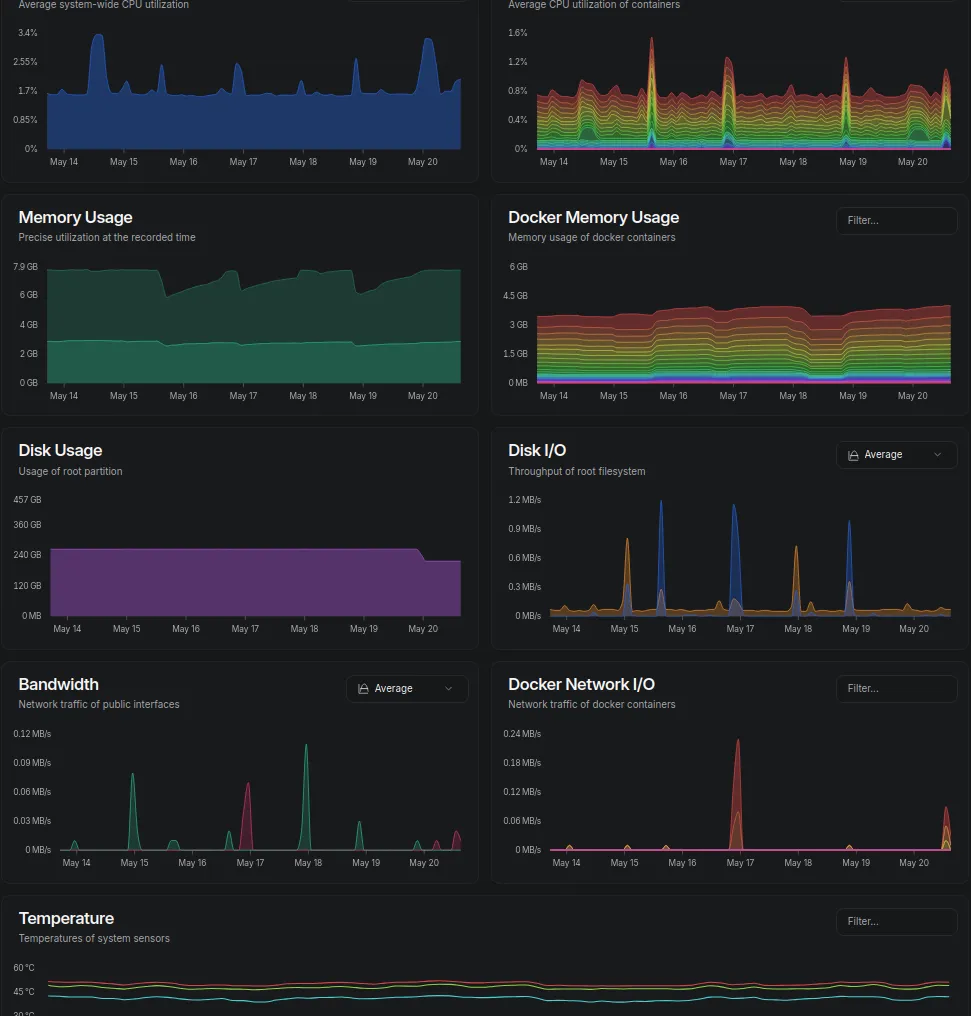
Beszel: Lightweight Server & Docker Monitoring
- What it is: A lightweight server monitoring platform with Docker stats, historical data and alerts. It uses a hub/agent architecture.
- My take: While my Pi 5 is the “hub” in this context (and also has an agent monitoring itself), Beszel is great for keeping an eye on system resources (CPU, memory, disk, network) and individual Docker container performance over time. The alert system is a nice touch for proactive monitoring.
- Pros: Simple setup, clear web interface, good for historical data on system and container metrics, multi-user support.
- Cons: Agent needs to be installed on monitored systems (though for a single Pi, it’s straightforward).
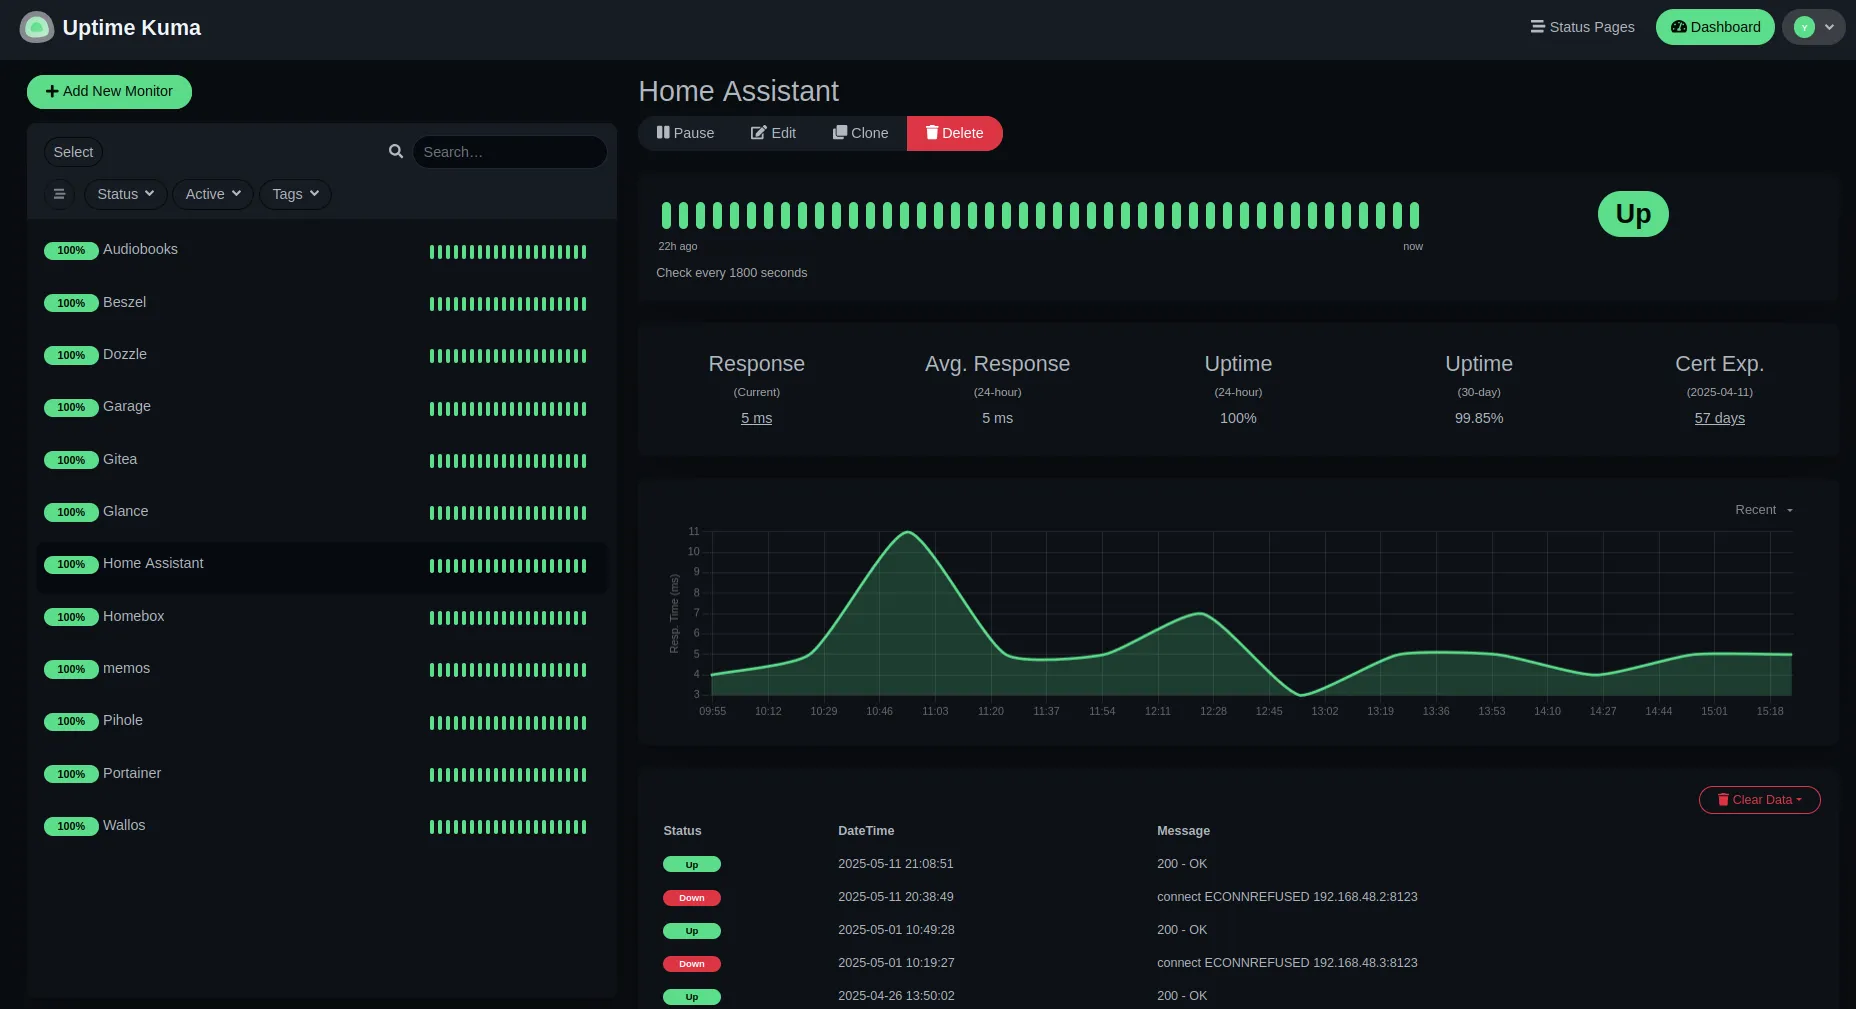
Uptime Kuma: Service Availability Guardian
- What it is: A user-friendly, self-hosted monitoring tool for tracking the uptime of your services.
- My take: With multiple services running, I want to know if something goes down. Uptime Kuma is incredibly easy to set up and provides a beautiful dashboard showing the status of all my monitored endpoints (both internal services and external websites). It supports various notification methods, so I get alerted if something breaks.
- Pros: Very easy to use, attractive UI, multiple monitor types, good notification options.
- Cons: Primarily for uptime, not deep application performance monitoring.
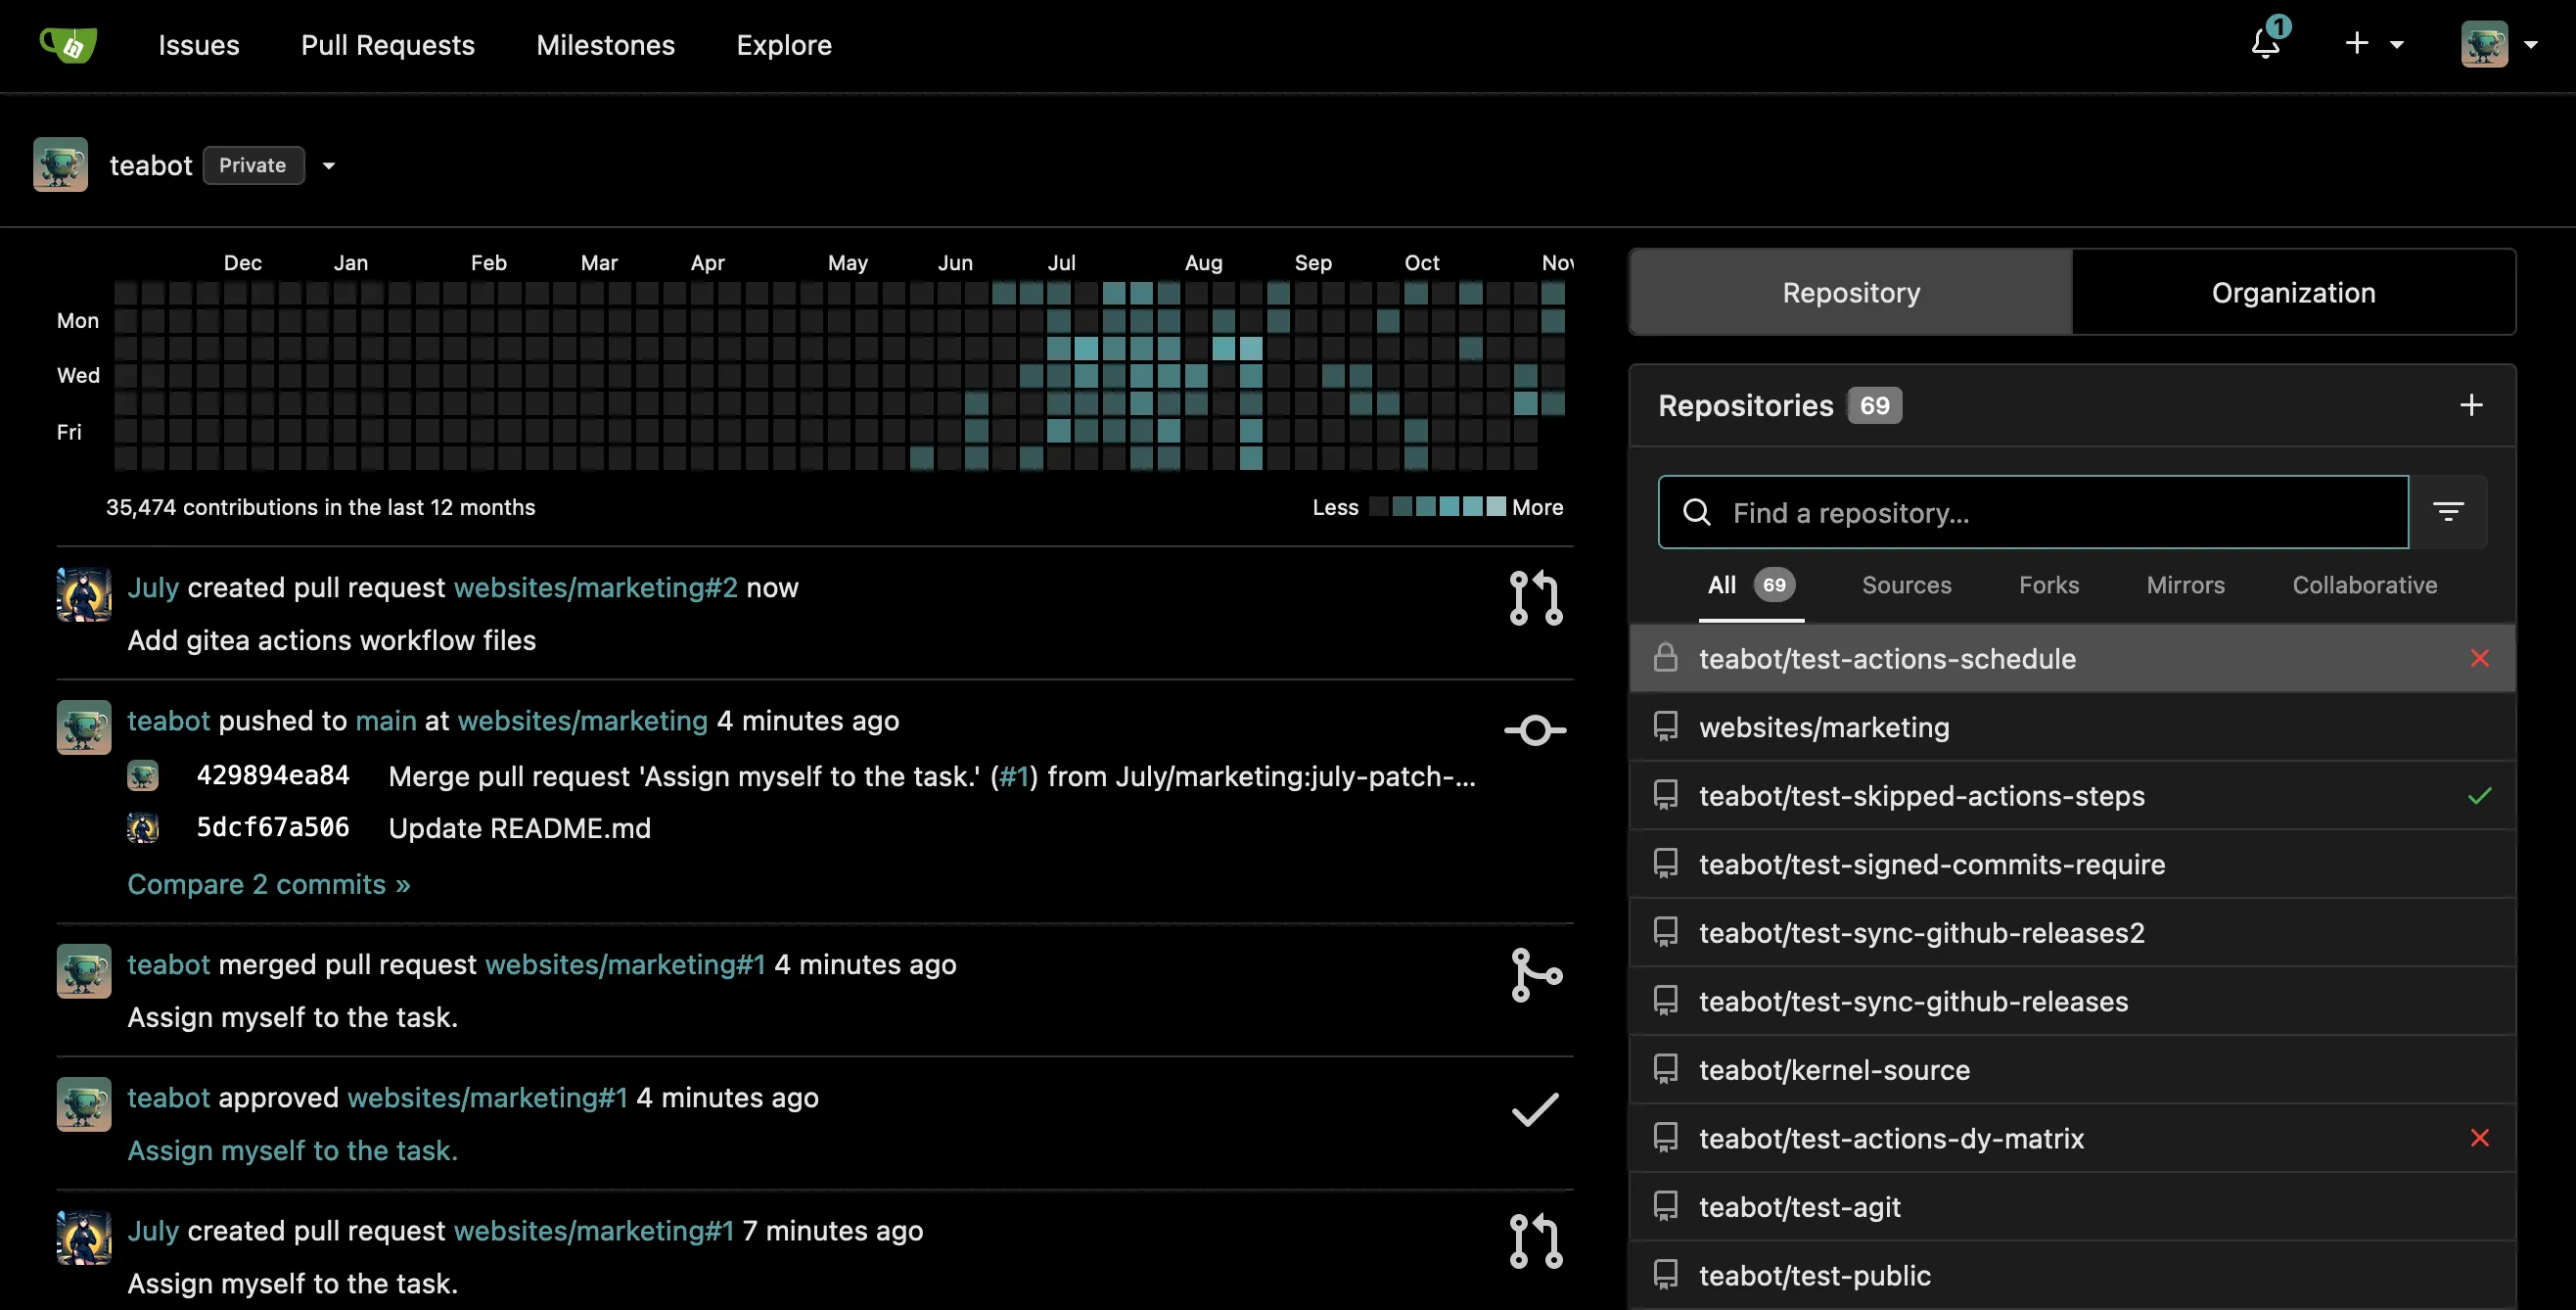
Gitea: My Personal Git Powerhouse
- What it is: A lightweight, self-hosted Git service, similar to GitHub or GitLab.
- My take: For personal projects, scripts and configuration files, I prefer to keep them on my own Git server. Gitea is incredibly efficient, easy to run and provides all the core Git functionalities I need (repositories, issues and pull requests).
- Pros: Lightweight, fast, full Git feature set, great for personal or small team use.
- Cons: Doesn’t have all the bells and whistles of massive platforms like GitHub.
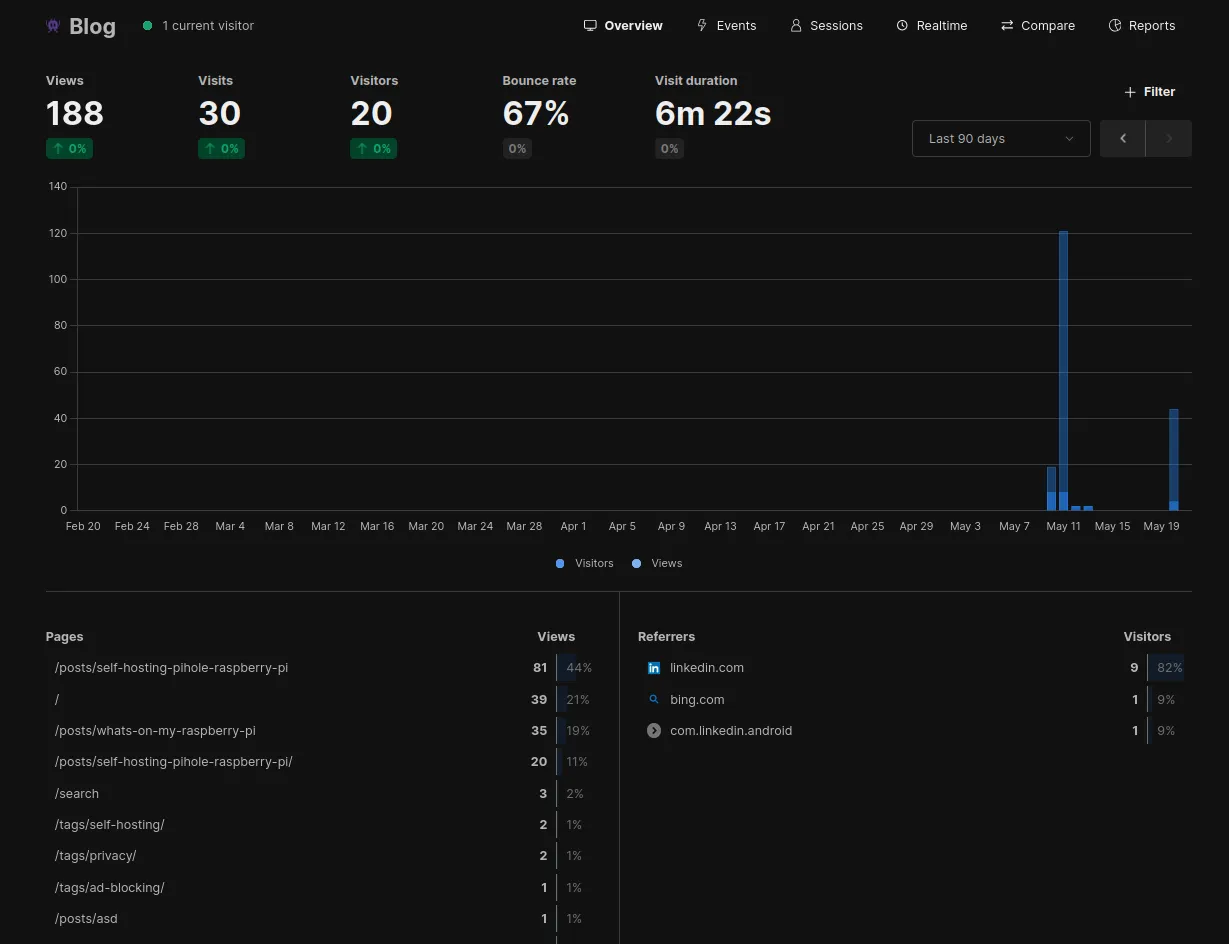
Umami: Privacy-Focused Web Analytics
- What it is: A simple, fast, privacy-focused alternative to Google Analytics. It allows you to collect, analyze, and understand your website data without compromising user privacy.
- My take: If you’re hosting any web content (like this blog), understanding your traffic is useful. Umami provides these insights without sending data to big tech companies. It’s lightweight, easy to interpret and respects visitor privacy – a perfect fit for a self-hosted philosophy.
- Pros: Excellent for privacy, simple and clean interface, easy to self-host provides core web analytics metrics effectively. Umami does not use any cookies so no annoying cookie banner is required. Umami never collects any personal information from your visitors so it is fully compliant with GDPR and CCPA.
- Cons: May lack some of the highly advanced segmentation or reporting features found in enterprise-level analytics platforms.
Pi-hole: The Ad-Blocking Sentry (Still Going Strong!)
- What it is: A network-wide DNS sinkhole for blocking ads and trackers.
- My take: You might already know about Pi-hole from my previous deep dive. It continues to be a cornerstone of my network, providing a cleaner, faster and more private internet experience for all connected devices. The Pi 5 handles it with ease alongside everything else.
- Pros & Cons: Covered extensively in the other article! Still a massive win.
Under the Hood: Docker, docker ps -a and a Glimpse at Configs
All these services are managed using Docker and more specifically, Docker Compose. This allows me to define all
services, their configurations, volumes and networks in yaml files making deployment and updates very straightforward.
Here’s a snapshot of what docker ps -a (which lists all containers, running or stopped) might look like on my system:
# Output of 'docker ps -a' on my Raspberry Pi 5
CONTAINER ID   IMAGE                               COMMAND                  CREATED          STATUS
c4b0fc098e2b   amir20/dozzle:latest                             "/dozzle"                20 hours ago   Up 20 hours
9510ac13c6dc   lscr.io/linuxserver/homeassistant:latest         "/init"                  2 days ago     Up 44 hours
5559b3419b17   gitea/gitea:latest                               "/usr/bin/entrypoint…"   6 days ago     Up 44 hours
6477892c6271   ghcr.io/umami-software/umami:postgresql-latest   "docker-entrypoint.s…"   7 days ago     Up 44 hours
77d9b6c2bf9a   nginx:alpine                                     "/docker-entrypoint.…"   9 days ago     Up 44 hours
984f5e93365e   ghcr.io/hargata/lubelogger:latest                "./CarCareTracker"       2 weeks ago    Up 44 hours
75b4a5ddc78a   henrygd/beszel:latest                            "/beszel serve --htt…"   3 weeks ago    Up 44 hours
ec2a8c1eaddb   caddy:latest                                     "caddy run --config …"   4 weeks ago    Up 44 hours
8e588b17fe52   containrrr/watchtower                            "/watchtower"            2 months ago   Up 44 hours
692eb0dea095   louislam/uptime-kuma:1                           "/usr/bin/dumb-init …"   3 months ago   Up 44 hours
(This is an example, your actual IDs, image names and ports might vary. Customize as needed.)
While I won’t paste all my Docker Compose files here, a typical service definition looks something like this:
# Example snippet from a docker-compose.yml
version: '2.1'
services:
  uptime-kuma:
    image: louislam/uptime-kuma:1
    container_name: uptime-kuma
    ports:
      - 127.0.0.1:4001:3001
    volumes:
      - uptime-kuma:/app/data
    restart: unless-stopped
    networks:
      - infrastructure

networks:
  infrastructure:
    external: true

volumes:
  uptime-kuma:
To manage access to these services with custom domain names and automatic HTTPS/SSL, I run Caddy as a reverse proxy. Its simplicity and powerful features make it a great fit, but a full Caddy setup is a deep dive for another article!
The Zigbee Connection: Smart Home Integration
As mentioned, USB Zigbee dongle is a key part of my setup. Connected to the Raspberry Pi 5 it acts as a coordinator for my Zigbee mesh network. Home Assistant communicates with this dongle (often via an add-on or integration like ZHA or Zigbee2MQTT) to discover and control Zigbee devices such as:
- Smart bulbs and light strips
- Motion sensors
- Door/window contact sensors
- Temperature/humidity sensors
- Smart plugs
This direct local control is far more reliable and private than relying on cloud-connected hubs from various manufacturers. The Pi 5 handles the Zigbee traffic and Home Assistant’s processing without issue.
Challenges & Considerations
Self-hosting isn’t without its learning curve and responsibilities:
- Initial Setup: Can take time, especially if you’re new to Linux, Docker or networking.
- Maintenance: You’re the admin! This means keeping the Raspberry Pi OS updated, Docker updated and individual container images updated. Beszel and Uptime Kuma help monitor, but you still need to act.
- Backups: Crucial! Regularly back up your Docker volumes, configuration files and the Pi’s OS. An NVMe makes imaging faster, but an off-site or separate backup is still a must.
- Security: If you expose services to the internet, you must be diligent about security (strong passwords, fail2ban, reverse proxy, keeping things updated).
- Troubleshooting: Things can occasionally break. Learning to read logs (thanks, Dozzle) and diagnose issues is part of the journey.
Is This Self-Hosting Life for You?
If you enjoy building and customizing your own setups, value privacy and control and are willing to invest some time in learning, then absolutely! The Raspberry Pi 5, especially with an NVMe drive, is a fantastic platform to start or expand your self-hosting adventures. The services I’ve highlighted are just the tip of the iceberg.
The feeling of building something useful and truly yours is incredibly satisfying. Plus, the skills you gain are transferable and highly valuable.
Final Thoughts & Your Turn
My Raspberry Pi 5 homelab has transformed how I interact with technology at home. From blocking ads network-wide to automating my lights and managing my personal code, this little powerhouse does it all. It’s a clear example of how self-hosting is now both practical and approachable.